Showing posts with label food. Show all posts

Sunday, September 8, 2013

Poached Egg Tutorial!!!!!


"You win some, you loose some."

That's pretty much how it goes with poaching eggs. Some days I can poach an egg on my first try, other days it takes a great long while to do just one. So needless to say, I'm no expert, but I try my best!

Poached eggs are probably on my top-ten list for favorite foods. They are soooooo delicious and can go with soooooo much. I like to eat mine on top of toasted french bread, sprinkled with salt and pepper, and topped with feta cheese. YUMMM!

Here's what you'll need:
-1 slice of bread of your choosing
-Slotted spoon
-Vinegar
-Salt and Pepper
-1 egg (DUH)
-Parmesan or Feta cheese (optional)

1. Fill a saucepan 1/2 full and set on heat

2. Dash a little vinegar into the water. This helps the egg stay tight. (we don't want egg-water!)


3. Crack your egg into a small dish. This makes it easier to pour it into your pan.


4. Bring the water to an almost-boil. That point where you start to see little tiny bubbles. That's when your going to turn the heat down a little so that it's not boiling.

5. Using a rubber spatula, make a whirlpool type of motion in the water with it..

6. Once the whirlpool in good, drop the egg smack down in the center of the whirlpool. If you see chunks flying off of the egg, never fear. It'll be fine. Don't worry :)


7. Cook the egg for 3-4 minutes. A perfectly cooked poached egg should have a little yolk running out of it when you cut into it, but not too much. The white should be very thick. While your lil' eggie is cookin', you can toast your toast.

8. Using your slotted spoon, pick the egg up and drop it onto the paper towel. Once it's dry enough, carefully drop that thang onto yo toast! And....the most fun part....cut into it! Once you cut into it, salt and pepper it and add your cheese if desired. Enjoy!


So fun! hahahaha


Bon appetit!
xoxo
Andrea

sources: http://smittenkitchen.com/blog/2008/08/how-to-poach-an-egg-smitten-kitchen-style/http://www.pauladeen.com/article_view/how_to_poach_an_egg/

Friday, August 30, 2013

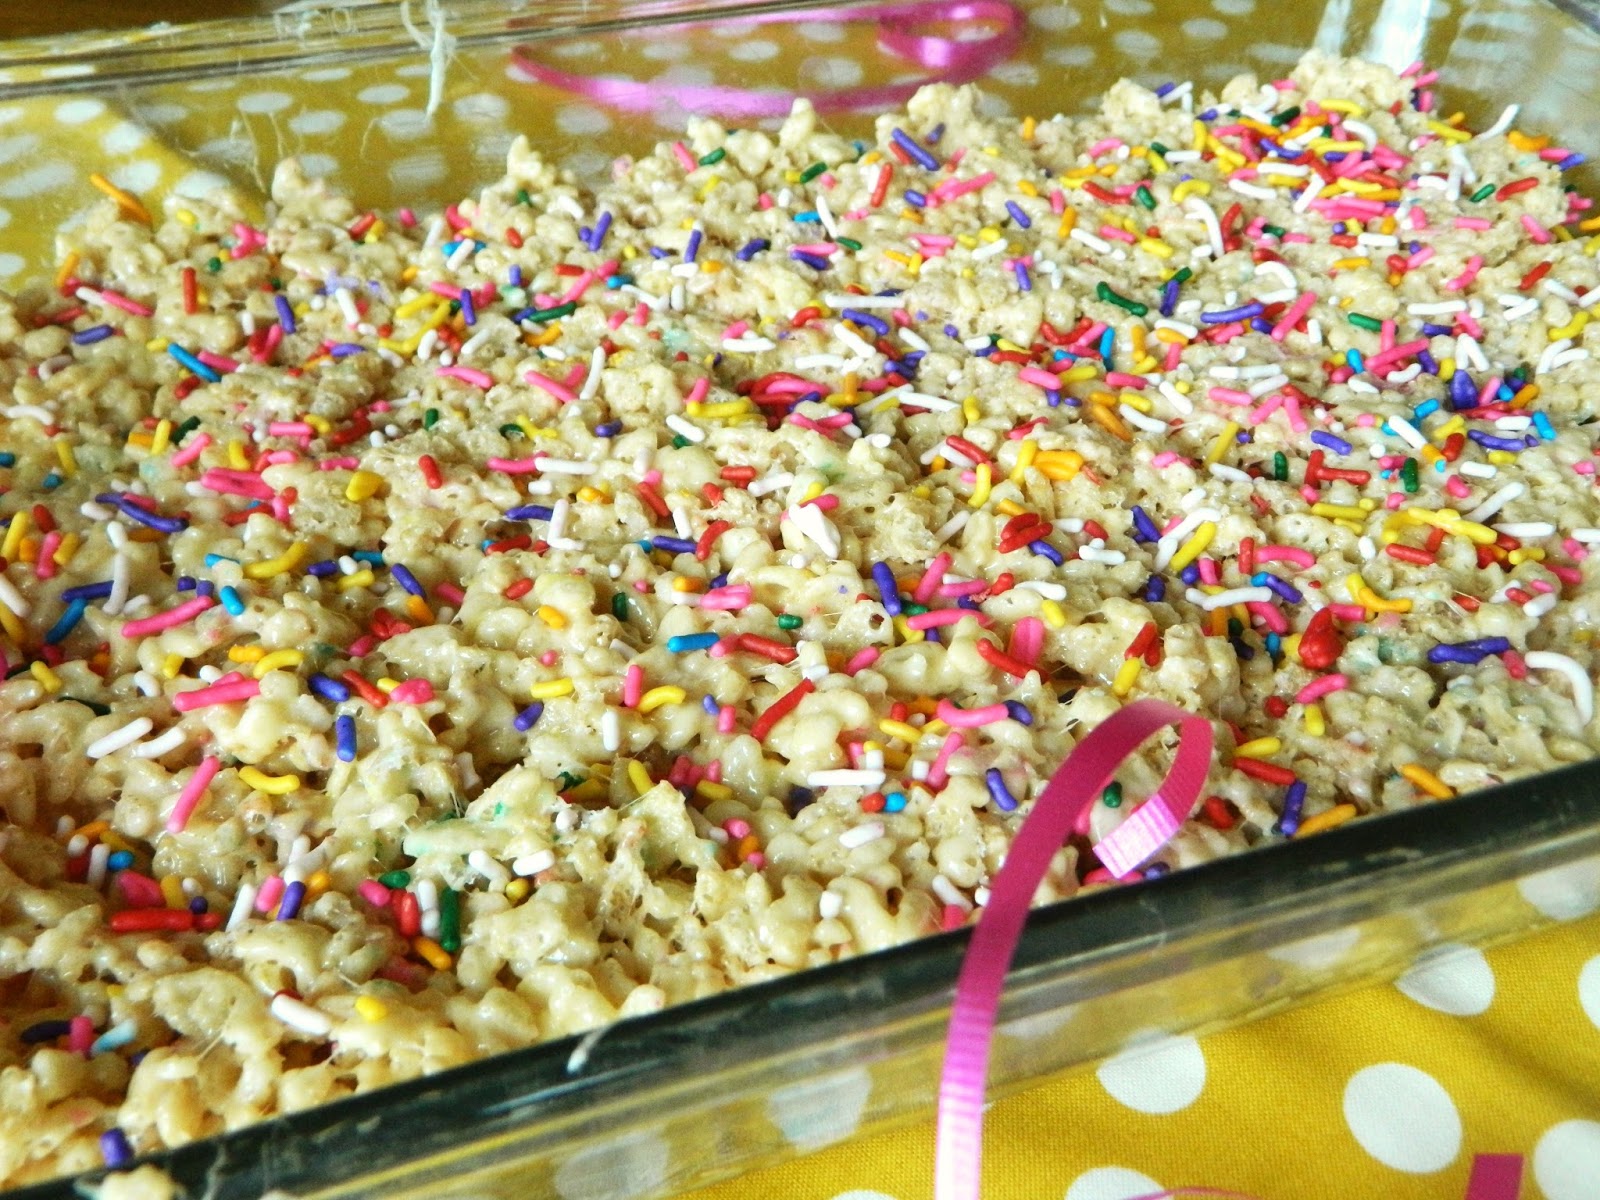
Birthday Cake Krispie Treats


So, these are amazing.

So yea...you should make them. Especially if you are like me and you are a sucker for anything that says cake.

Cake batter ice cream.
Birthday cake Froyo.
Cake batter puppy chow.
Birthday cake Oreos.
Cake.

I have to say, though, that out of all of the cake-batter things I have tried, this one "Takes the Cake."
HAHAHHAHA! Get it?!

Birthday Cake Krispie Treats:
-1/3 a cup of dry white or yellow cake mix (I used yellow)
-4 TBS of butter (1/4 cup)
-5 cups of rice cereal
-1 package of regular sized marshmallows
-colorful sprinkles!

-Over low heat in a large saucepan, melt the butter. 

Add the marshmallows once the butter is completely and melt those completely, stirring occasionally to speed things up a bit.

Stir cake mix into melted marshmallows

Add the cereal one cup at a time and fully coat with the mixture. 

Add in a few dashes of the sprinkles, but don't stir them around a ton because the colors will all mesh together and it'll look super ugg.

Spread into a greased baking pan (a buttered spatula might help, things get pretty sticky.)
It doesn't mater what size the pan is, but the smaller the pan, the thicker the treats.

Now, for the best part: Sprinkling the sprinkles. Seriously. Relax. Have fun. Loosen up. Sprinkle.

Ok, I lied. Sprinkling the sprinkles is the second best part. EATING is the first best part. So enjoy.


YUM..

Bon Appetite!
-Andrea


Friday, August 2, 2013

Mint Grasshopper Krispie Treats

I am entering Mint Grasshopper Krispie Treats in the Creative Recipe Contest hosted by Confessions of a Cookbook Queen and Cookies and Cups!

Yay!

 The idea of this contest is to put a twist on a recipe from these AMAZING blogs, Confessions of a Cookbook Queen, and Cookies and Cups. I was SO excited when I found out about this...I looked through tons of recipes on the blogs and had so many ideas, but I decided to narrow it down to Mint Grasshopper Krispie treats.

I was inspired by Cookies and Cups general love for Krispie Treats (she has a whole category for them!!!!!) and my love for everything minty-chocolatey. And, lets face it: Mint Creme Oreos....are. amazing.
Specifically, I was inspired by these Brownie Batter Krispie Treats from her blog!

I decided to adapt them into something cool and minty. One of my favorite flurries to get when I go to our local ice cream shop is called Mint Grasshopper. It has mint ice cream and crushed Oreo pieces. So yummy. Decadent. Delicious. Addicting. I have to admit, though, I thought of adapting them into many other things:
-Snickerdoodle Krispie Treats
-Salted Caramel Nutella Krispie Treats
-Mini Cake Batter Krispie Treat Cakes (add cake batter to krispie treats, use as circle cookie cutter to cut two pieces into the treats, and top them on top of each other, filling the middle of one with frosting. Frost the whole thing like a cake)
-Apple Pie Krispie Treats (If you think about it, that might be a tad disgusting. Soggy apples on krispie treats? No, thanks.)

That's all.

These Krispie Treats are so easy and yummy! Minty and Chocolatey. Half the pan has mysteriously disappeared at my house in the past 6 hours .....


Ingredients: 
5 Cups of rice cereal
3-4 tablespoons of butter or margarine
1 bag of marshmallows 
1/3 tsp mint extract
green food coloring
1 bag of milk chocolate chips
15 Mint Creme Oreos (SO GOOD! I could live off those things!)

Faveee Oreoos 

1. Grease a 9x13 pan with butter or nonstick spray.

2. Melt butter in a large saucepan on low till completely melted.

3. While butter is melting, place Oreos in a large bag and crush with a rolling pin. Pour finely crushed Oreos into a bowl.


4. Add marshmallows  all at once. Coat them in the butter by stirring.

 Stir until almost melted. Once it is almost melted (see picture), immediately add mint extract and a few drops of  food coloring. (If using gel food coloring, add two toothpicks of it) 
-The marshmallows are almost melted when you see just a few chunks of fat marshmallows, but mostly melty, thin marshmallow, like in the picture,

Stir until fully melted. 

5. Add rice cereal, one cup at a time. 

6. Spread into pan using a greased spatula for less stickiness.

7. Once treats are in the pan, melt 1 and 1/2 cups of chocolate chips in the microwave for 1 minute, or until spreadable. Spread a thing layer of the chocolate on to the krispie treats and quickly add the crushed Oreos. 


8. Melt remaining chocolate chips (about 1/2 cup) and drizzle over the Oreos.


9. Refrigerate until chocolate is firm.

ENJOY! I know I did :)


XOXO, Andrea

Note: This recipe for Krispie Treats is adapted from Millville Rice Cereal Boxes.


Wednesday, July 31, 2013

Homemade Marshmallow Pops


Today I bring to you an easy, delicious treat- Marshmallow Pops!
YUM!
Ok, these were SO SO good!
The kids I made them with loved it- and it's easy enough for them to do.
The best thing about these babies is that you can make so many different kinds- smore's pops, pink, chocolate, pink with butterfly sprinkles, pink with flower sprinkles... the possibilities are endless!
So without further ado, here we go!

Ingredients:
-Treat sticks
-Sprinkles of choice (optional) and crushed graham crackers (also optional)
-1 (10.oz) Bag of Marshmallows
-1 Package of white melting chocolate (I suggest Wilton)
-1 package of milk chocolate melting chocolate (Once again, I suggest Wilton)
-Food coloring (optional)


These are just SOME of the many sprinkles we used!


Nonpareils look pretty on these fabulous pops


Directions:
1. I had the kids put the marshmallows on sticks- it's easy for them to do, and it's busy work. We used the whole bag.

2. After all the pops are on sticks, pour the sprinkles into bowls so that dipping is easier.

3.Pour the white chocolate into a bowl and melt in the microwave according to instructions, or for 30 second intervals.  I recommend the Wilton chocolate because it is thin and runny when melted, perfect for dipping marshmallows.
4. Stir melted white chocolate immediately and add food coloring if desired. Stir quickly. (we used pink)
5.  Dip a marshmallow into the chocolate, and immediately roll in sprinkles.

6. Set the marshmallow pop into a cup, stick side down, so that the chocolate doesn't smudge.

7. Repeat with half of the marshmallows. Set in freezer for about 15 minutes.
8. Melt chocolate in the microwave according to directions or for 30 second intervals.
9. Dip a marshmallow into the chocolate, and immediately coat with sprinkles.
10. Place in a cup, and repeat with remaining marshmallows.
11. Freeze for 15 minutes.
12. Indulge :)
You will not be able to have just one :)

*To make smore's pops, simply coat a chocolate covered marshmallow in crushed graham cracker. These were my favs!
Smore's pops!

 Pearls, flowers and butterflies, white sugar, blue sugar, and ice cream sprinkles on pink!
 NOMS!


Thanks for stopping by!

xoxo- Andrea

Saturday, June 29, 2013

Easy and delicious garlic bread


This Garlic bread is super simple and delicious! My family LOVED it when I made it. This is one of those recipes that you will most likely have all the ingredients in the house for. This recipe serves 4, but you can easily add a little more butter to serves couple other people.


What you'll need
-2 Tbs. butter (or more, if you want to make a couple more slices of bread.)
-1 clove of garlic, minced.
-A few dashes of basil and garlic salt. If you use whole basil lives, mince them. I used dried basil.
-4 slices of bread such as Italian (I used), Ciabatta, French, or Vienna.
-Shredded Mozzarella cheese (optional).


Directions:
-Preheat oven to 3:50 degrees or use broiler for a quicker method
-Heat butter in microwave until melted.
-Once butter is melted, stir in minced garlic clove, basil, and garlic salt.
-Cover a baking sheet with tinfoil. Place bread the sheet.
-Using a marinade brush, or spoon, spread each slice evenly with mixture.

-Sprinkle lightly with Mozzarella cheese.
-Once oven is preheated, set in oven. Bake until the cheese is melted and the bread is golden brown, like on the pictures. I think mine took about five minutes to bake.
-Once it's done, let it cool for about 1 minute and then serve and ENJOY!
It should be buttery, garlicy, and taste much better than the packaged kind of garlic bread. Let me know what you think in the comments below!


Thanks a million~
-Andrea